
Tuesday, October 13, 2015
Show stopper!
Monday, September 21, 2015
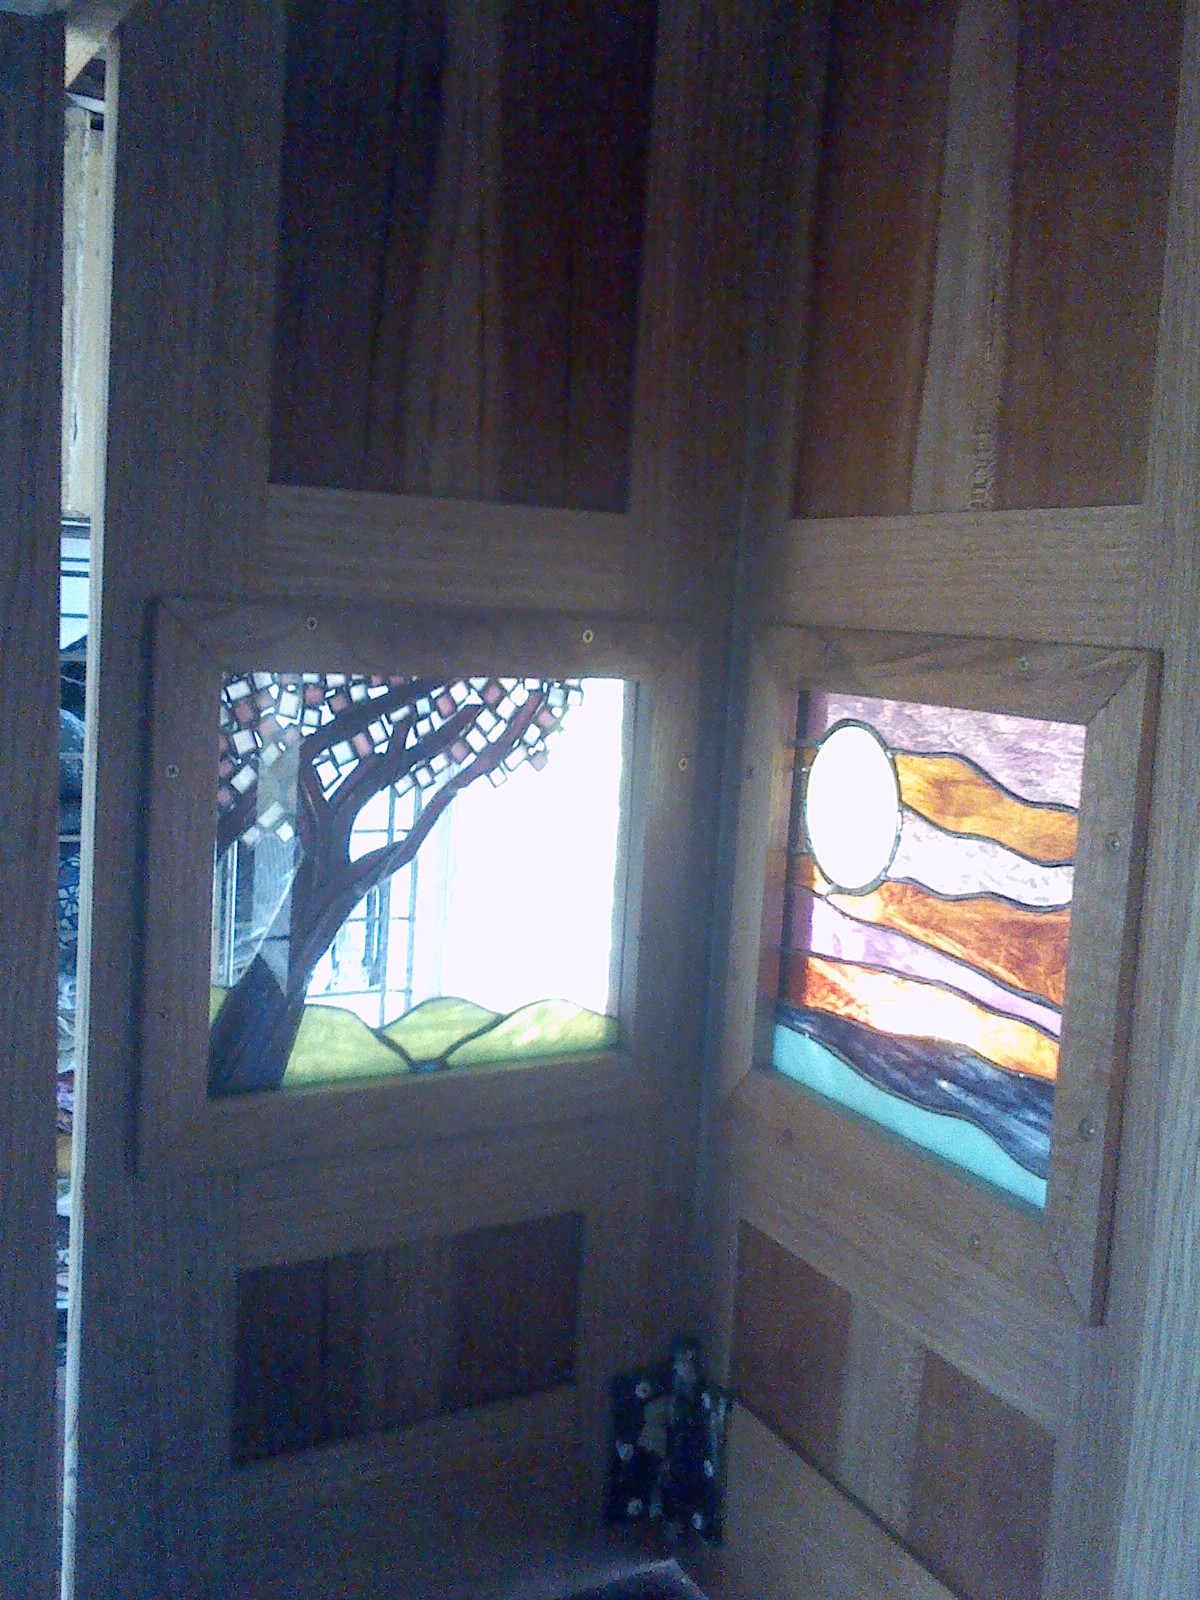
Hung doors
The bedroom and the bathroom doors (stained glass by Brandon Shultz, wood work by Brent Swanson, hinges by your truly) are finished and installed.


Sunday, September 6, 2015
Full-on "Inside" Action! Installing the 20 foot long living room ceiling
This was a fun operation, so I thought to make it a stand alone post:


Saturday, August 29, 2015
Recycling oak flooring scraps
Landus Bennet, HERO from Watson Springs, hooked me up with about 9 square feet of oak flooring seconds. There were some really nice spalted pieces that will match well with my dining table as I build the leaf support legs. The other project I am working on with the material are the door frames for the bed room and bathroom doors. I am looking forward to hanging them soon!
Bathroom door frame.
 Bedroom door frame, two of three sides.


 This is my first attempts at furniture making, using peg joints.

 I just picked it up recently; it has been more than a year since Jack Hudson finished it. I designed it and he built it from spalted sycamore I also got from Landus.

 Top of the table.


 under the sink towel bar for a clothes rack.


Here are the door frames in place, working on capping the recesses where the screws hold it to the steel.


Bathroom door frame.


Door frames ready to sand.


The leaf support legs will also be used in supporting the table top of the office/work wall cabinet. When that table top is folded down there would not be enough room for the dining table to be fully extended anyways. The doors of the cabinet will both open outwards and also latch together and fold down to be a work surface.
Here are some shots of the finished out tiny room + Washer/dryer compartment. Floor access hatch to plumbing, and trim made from recycled wooden ruler.


Here are the door frames in place, working on capping the recesses where the screws hold it to the steel.


Sunday, June 28, 2015
Building the ceiling frames
I have been recovering from a bike vs car encounter, and haven't been able to do much work on my house this month. I am tired of moving the bales of insulation around, and now that the solar racks are installed I can go ahead and build the ceiling panels, put the insulation in and have it all out of the way. Making frames with half lap joints, through pegged with dowels at the corners, and inset panels. I have enough of the embossed metal roofing tiles to do the living room area, so I am working on cleaning them up. I am so grateful for the help I have had holding and cutting the boards, Thank you Mark, and touring cyclists August and Rodigo, who stopped in for a stay while on their cross country journey. Thank you to Jesse and Robert for helping me refurbish the metal tiles!


 August and Rodrigo setting off up 441 North.


 All the pieces cut, ready to assemble. Using bricks to hold glue joints together.

I ended up not using these tiles after all, why add the weight just for decoration? But anyways.....


 Through pegging the messy half lap joints
 This is the largest frame, which will run along the port side of the living room. It will have to be finish assembled around the stove pipe,

 Priming all the panels with Kilz
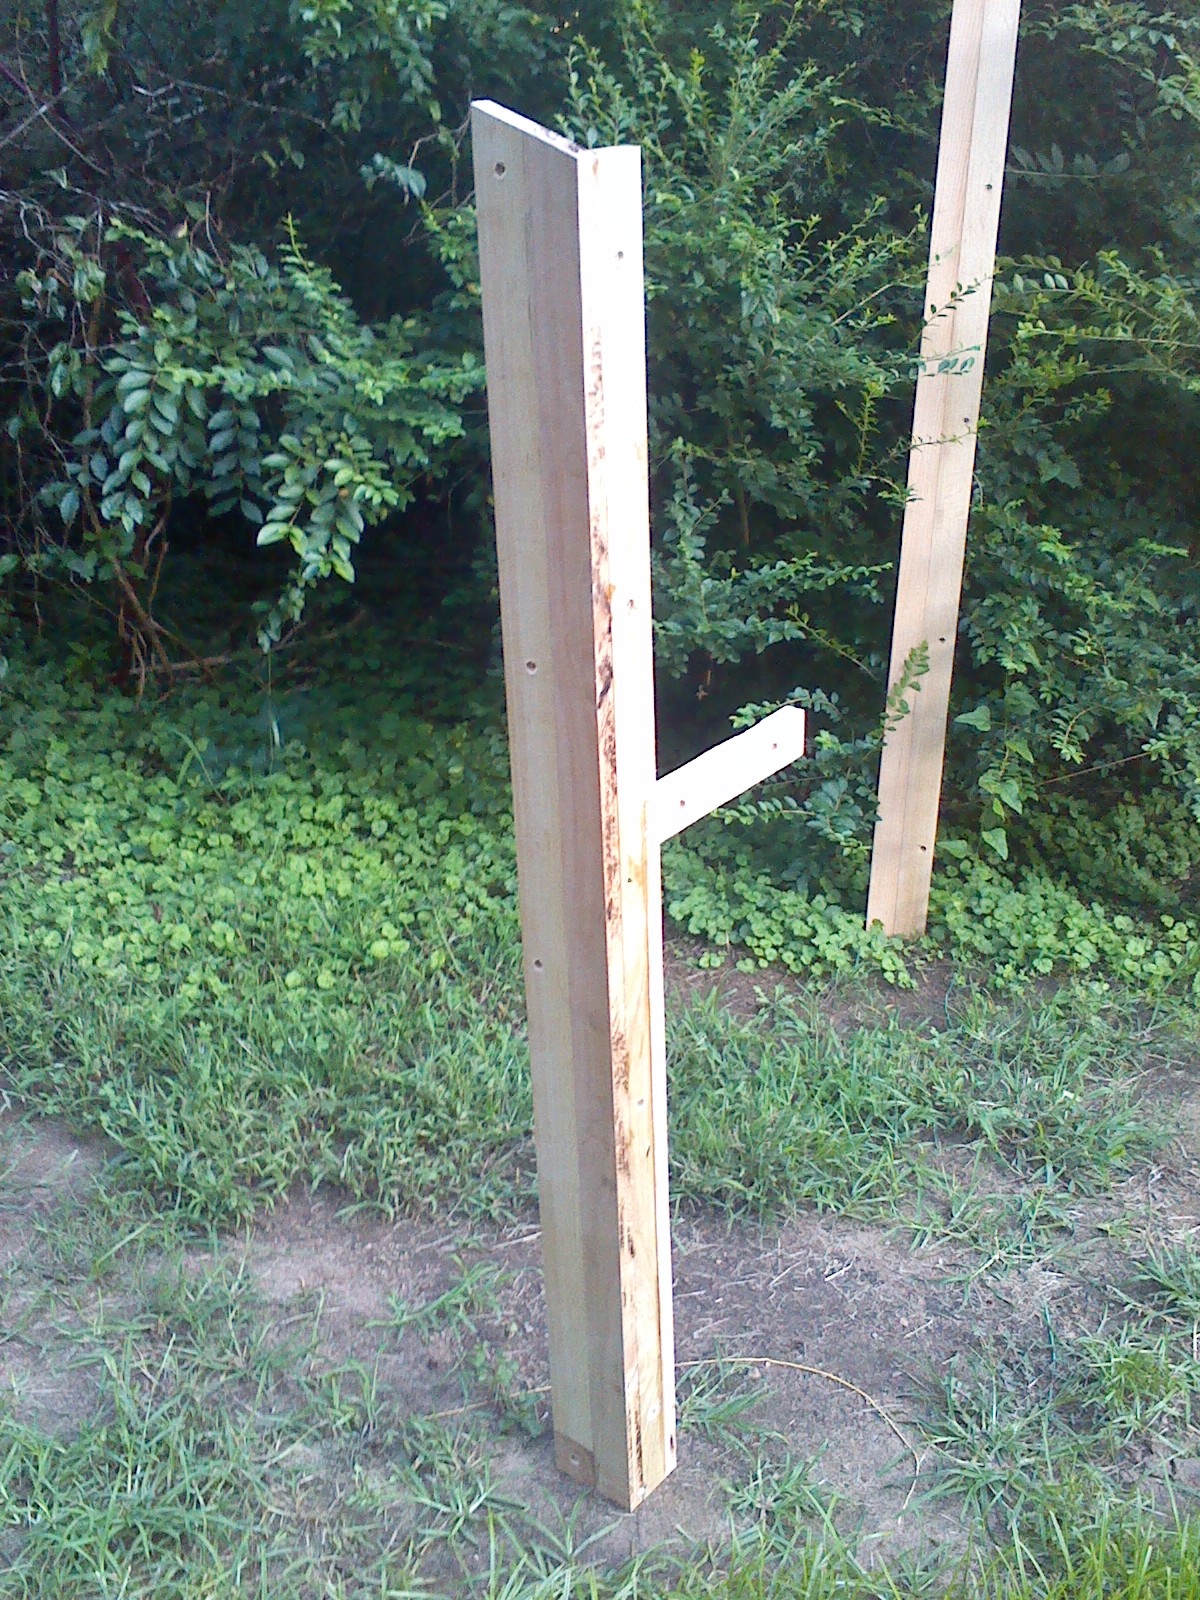
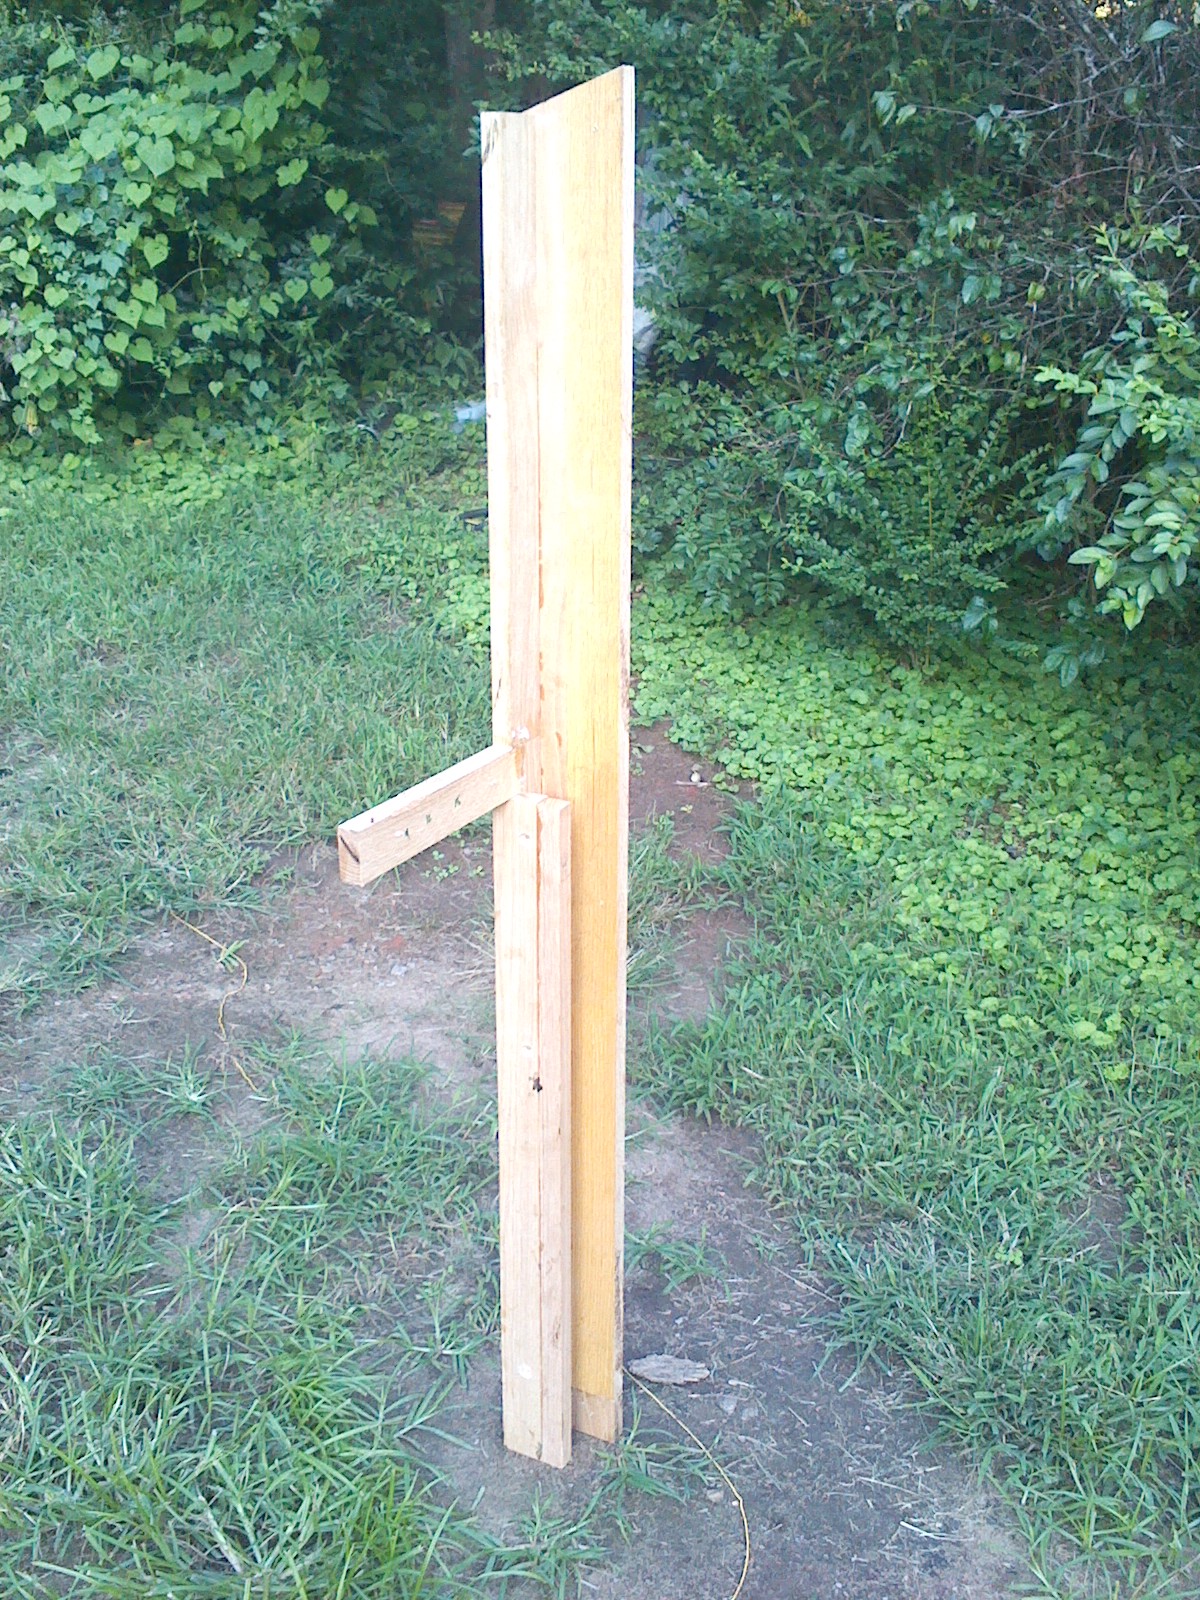
 In both the bedrooms there are frames that, when assembled, will not fit through the entrances, so I am putting them together in the rooms. The one in the smallest loft bedroom has to be built up-right inside the only space in which it could move. It is built with an extra vertical rail because the panels that rest in the frame have to be able to fit through the opening.
 Checking out the shade of blue on the ceiling.


 Put up trim to be able to finish paint the walls before the ceiling panels are installed.
 Paining/priming the loft bedroom walls.

Caulking the seams where the molding meets the frame.
Painting all the panels for the bedrooms and the tiles for the living room blue. Using my waitress $KILZ carrying wet tiles.


 All the frames have had two coats of paint put on them, and now the panels are glued into the rabits and held in place with a nail.


 Here we go! Getting the panels installed!


 Installing in the hall way.
 Installing in the living room


Simultaneously working on grinding the corrosion off the metal tiles, primed the backs with Rustoleum so that they will not corrode from behind..


All the frames were sanded, and chair rail molding held in place while with a nail or two while the glue dried.


Caulking the seams where the molding meets the frame.
Painting all the panels for the bedrooms and the tiles for the living room blue. Using my waitress $KILZ carrying wet tiles.


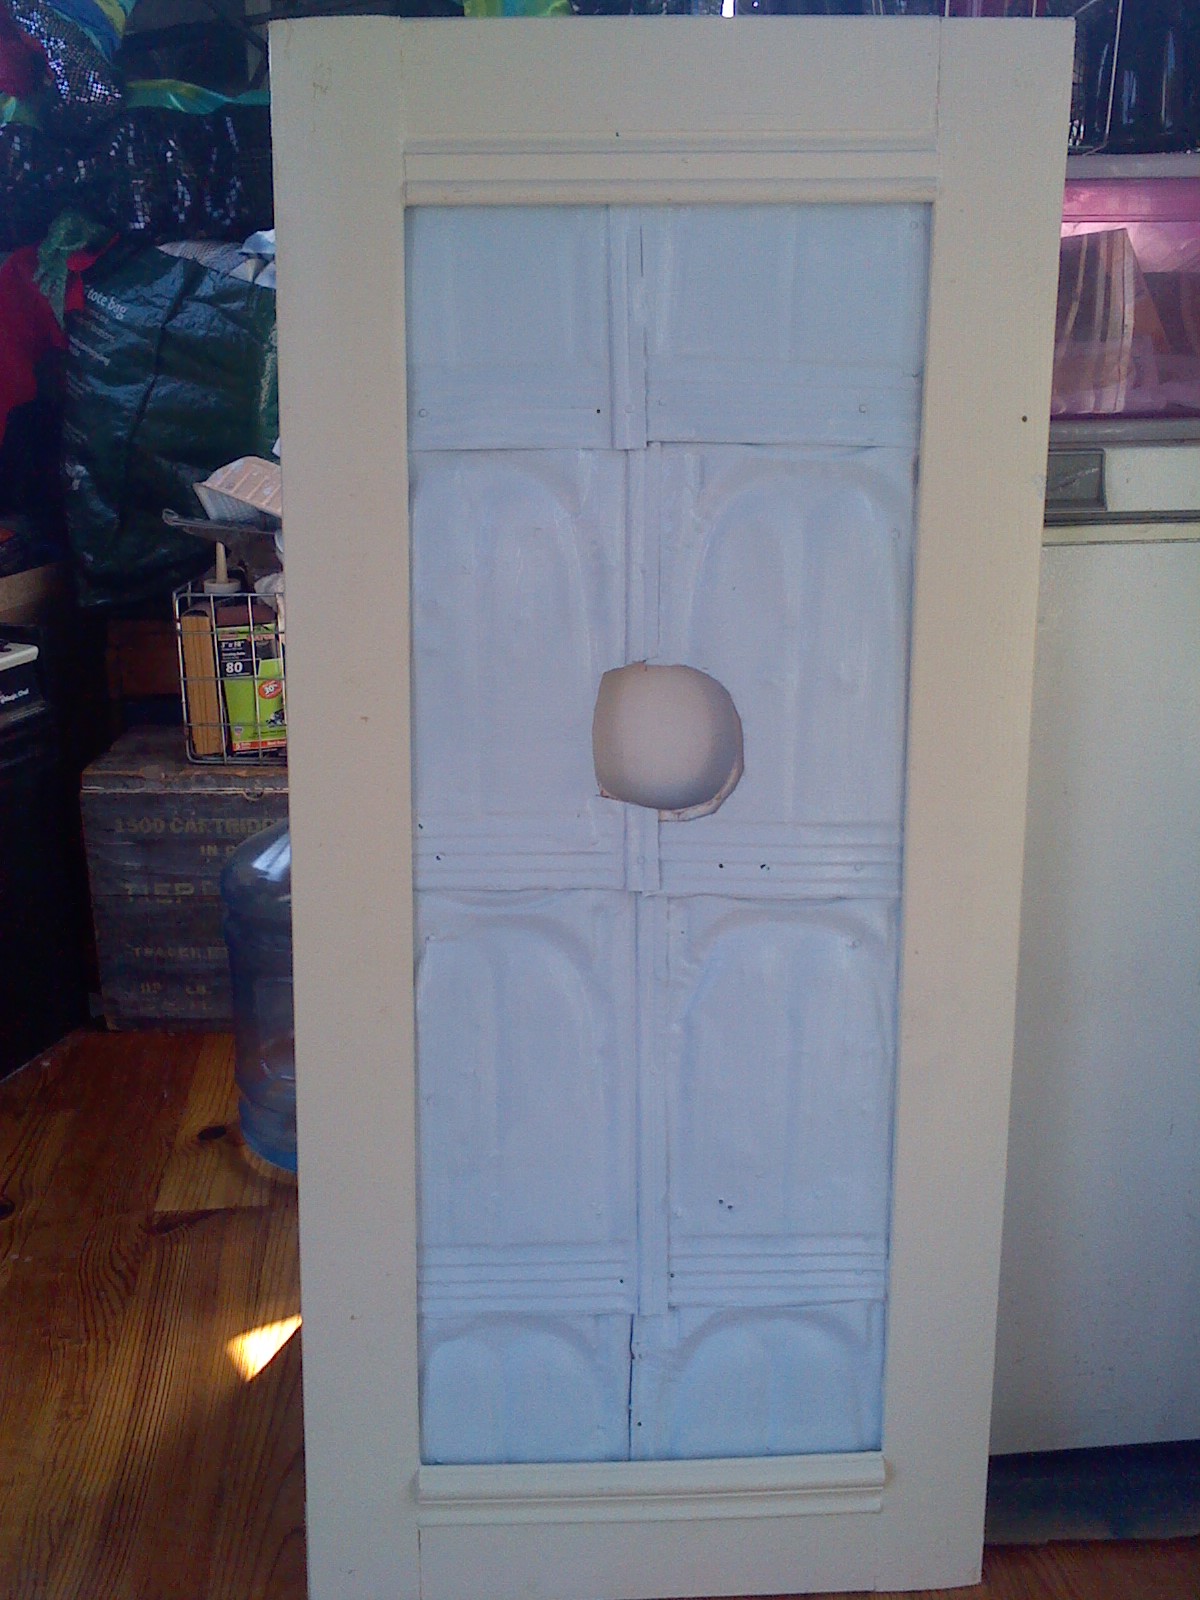
This is what the metal tiles look like in the frames. Not bad, but I decided not worth the extra weight, nor the heat the will be reflected off them in the summer. So they are up for sale on Craig's
http://athensga.craigslist.org/mat/5155952517.html


Subscribe to:
Posts (Atom)