I got my camera working again! Here are some images of slow but steady progress in the finishing work.
While working for Drew Bowen installing solar systems on residential roofs I was introduced to butyl tape, a product that is very flexible, sticky and stays tacky. I have been using it for the finishing flashing of the roof ends. I found two sticks of drip angle at Habitat for Humanity, and I bought some more the other day when my friend Tobin Brogunier shuttled me long distances in the heat with his station wagon to buy long lengths of metal. Also we stopped by a junk mall called Junk In The Trunk next to the Fastenal store where I buy my screws and bolts. The owner and I had chatted on a previous trip, I told her about my trailer and she offered me two piece of ridge cap and two other pieces of flashing that I need, that she had just sitting in the back corner of her storage, so we picked that up too!


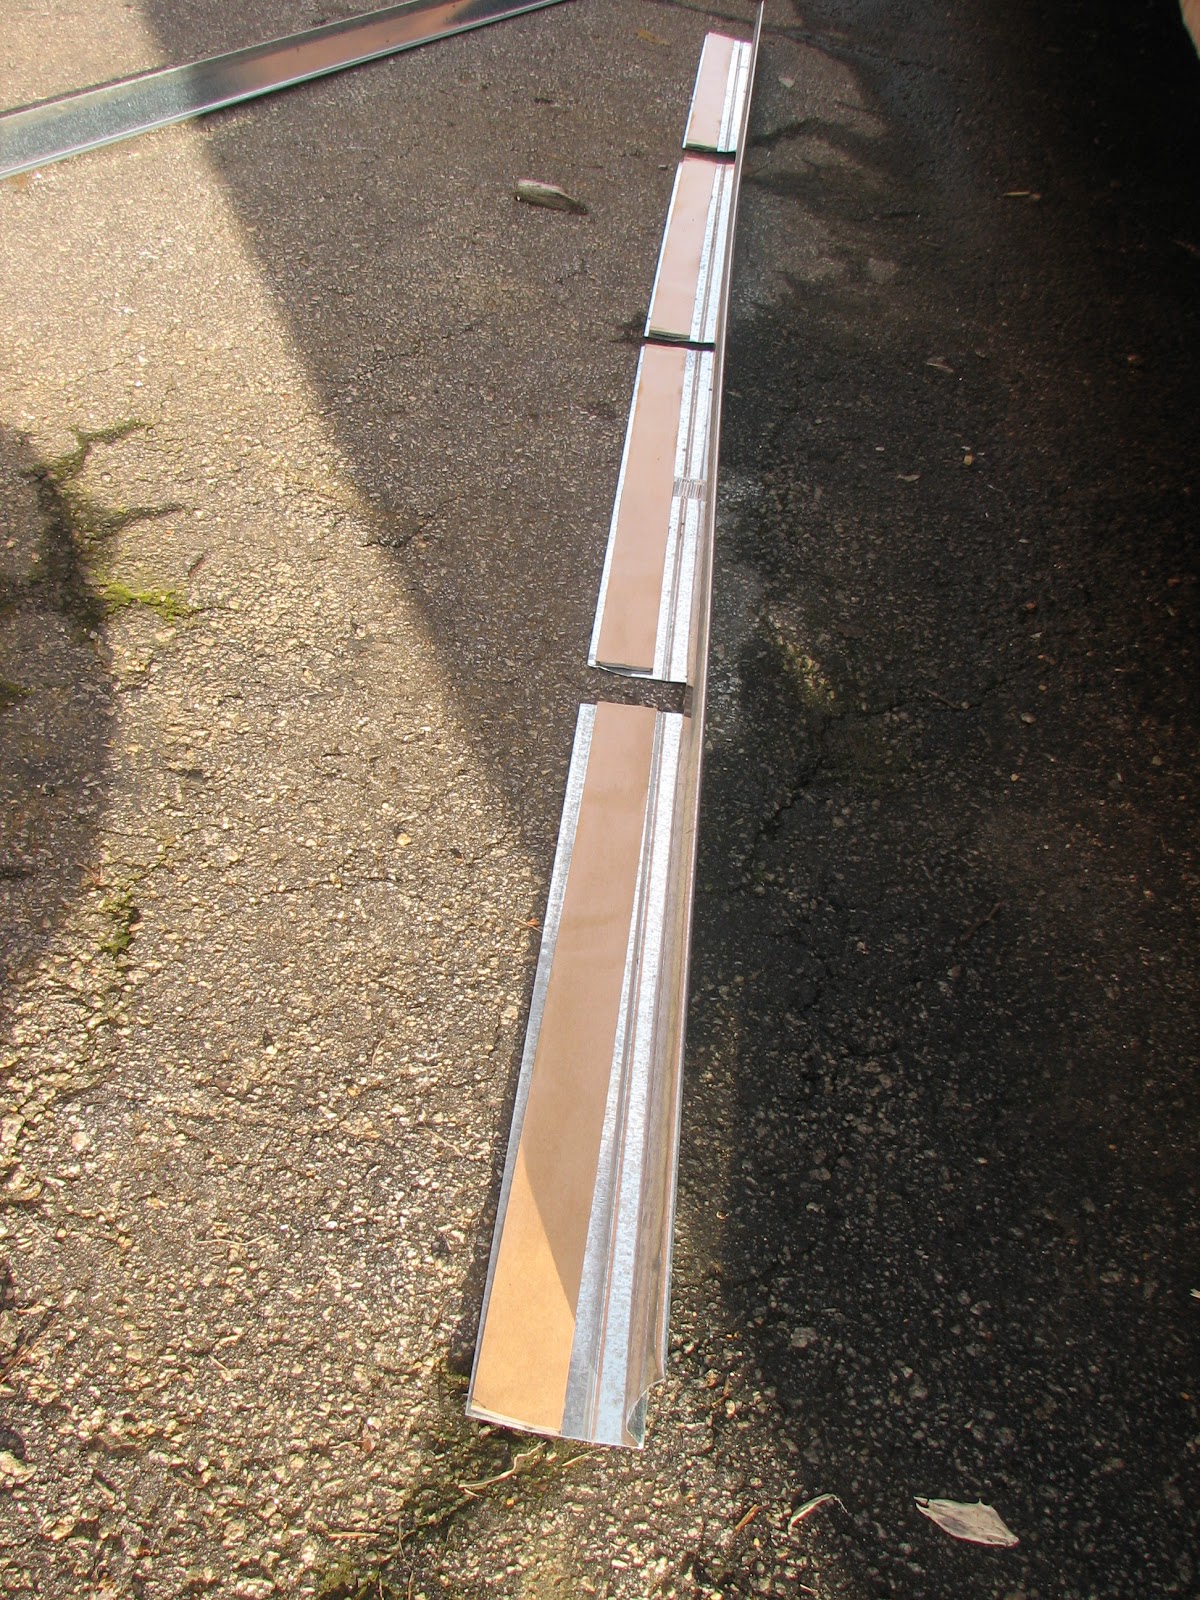
Drip angle gets trimmed to fit around the standing seams of the roof and then dressed up in butyl tape,
which gets installed in the joint of the roof and the wall on the low side of the roof,
along the ends of the panels, which are through bolted, holding the trim, the roofing the gutter flange and the ISO board together along the sides,

around the nose, which has it's roof panels installed thanks to help from my friend Lake Maner.
We also installed the vent opening for the stove fan.
Here is a shot looking down on the nose, which next will get it's ridge cap,


like shown here in these shots of the back, but here I won't need to
build these little porch like covers. The metal was too uneven over the
roof in the back to attach the ridge cap flush, so I built extra roof!

One thing I have been brainstorming about is how to plumb the gutters. I think I will take a piece of PVC pipe or irrigation tubing, cut it so it is a trough, one side of the trough will be nested between the gutter flange and the drip angle, the whole tube will rest in these metal gutters I made. Along the way I can install some T joints and at those places, under the bottom flange of the gutters I can drill holes in the wall ( it is already under the gutters so water won't get in ) and feed the tubing attached at the T joints into the wall, and incorporate it in to the plumbing of the trailer.. so I can collect, filter and use rain water!

Here is a diagram of the plumbing for the bathroom/washing machine and potable water cleaning system soon to come!

I have also been brainstorming how the kitchen water system will look. I will have to do some research about how to hook the five gallon jugs together.

What the worm composting system will be like.....hummm, all I know is that all this under the floor stuff has to be designed, purchased/built and and installed before I can finish the exterior work, the last step of which will be putting a bottom on the trailer and buttoning it on with angle flashing, butyl and bolts.

I am imagining a pan, 33" in diameter, eight inches deep and can rotate, so the toilet will stay in a fix place but the compost reactor can be moved to spread out the "bio-mass"
I have installed all the running lights that will denote the size of the trailer when it's rolling down the high-way, but I haven't wired them all up yet. The lights are through bolted and backed up with butyl tape.

The GhostBusters have been coming to visit... that's what it will look like when I get all the spray foam insulation in all the joins of the wall board and the frame. One can @ a time!
My friend Daniel Tinsley came and helped me tape around all the seams on the sheet metal siding, and then he caulked them all! We used blue painter's tape for the first work session, but I cheaped out and bought masking tape for the port side, which was a mistake because it didn't come off as cleanly as the other. Monkey got a big tape ball to play with.


The trim that will really tighten this up, as well as the wheel wells, will be installed much later, when the plastic under belly goes on, which will be after the water tanks are installed and alot of the under floor plumbing, but the enclosure around the utility sink is built ( the wheels wells are being built the same way ) with a layer of metal over ISO board cut and shaped to fit, and held up snug to the frame by metal strapping.

It is a tight squeeze to get in here to work. My friend Ken Ogletree brought me a cold beer the day I was working on this and getting frustrated!

Bedroom ready for ceiling panels over the windows. I want to build some window boxes and mount wooden panels for a climbing fig to grow up.
Looking back.
Chest freezer for the fridge.
Looking up.
Looking back
Looking forward
The first thing I did after I trimmed out the second door way and installed the dead bolt, with the help of my friend Charles Marvin James, who brought me a milk shake for a tour, was to forget my keys and lock myself out of my house!
Self with Hand
Self
This is a diagram of the cabling I will install before the ridge cap goes on, to provide symmetrical stability to the trusses.
Here is a diagram of the design for the decks. The doors on each side of the trailer will have a half a deck and tubing welded underneath that will receive the extensions for the other half, which will be shared between the decks.. to reduce weight and also allow for space limitations depending on where I may be parked.

Monkey is such a great companion out there in the waste land of industrial collapse....I basically am trying to stay just off the radar, just off the high way building my mobile outlaw command center in a small town here in the deep south.... and when we need a break.. we head for the jungle!
where we find more evidence of the impermanence
of progress falling apart on the banks of a choked, polluted and
stagnant river.
Morning glory
Swamp.

When the sun goes down there is no more work. Time to hang out on the roof..

Modern pioneer living.


 AFTER
-One of two arrays in Hahira GA, just north of Valdosta, Georgia... there is
also another array of 7 panels on the other side of the buildings.
AFTER
-One of two arrays in Hahira GA, just north of Valdosta, Georgia... there is
also another array of 7 panels on the other side of the buildings.