I haven't posted in ages, because I have had no camera. But, I just got a new smart phone, and figured out how to use it.. so.. away I go! Blog to be regularly updated from now on!

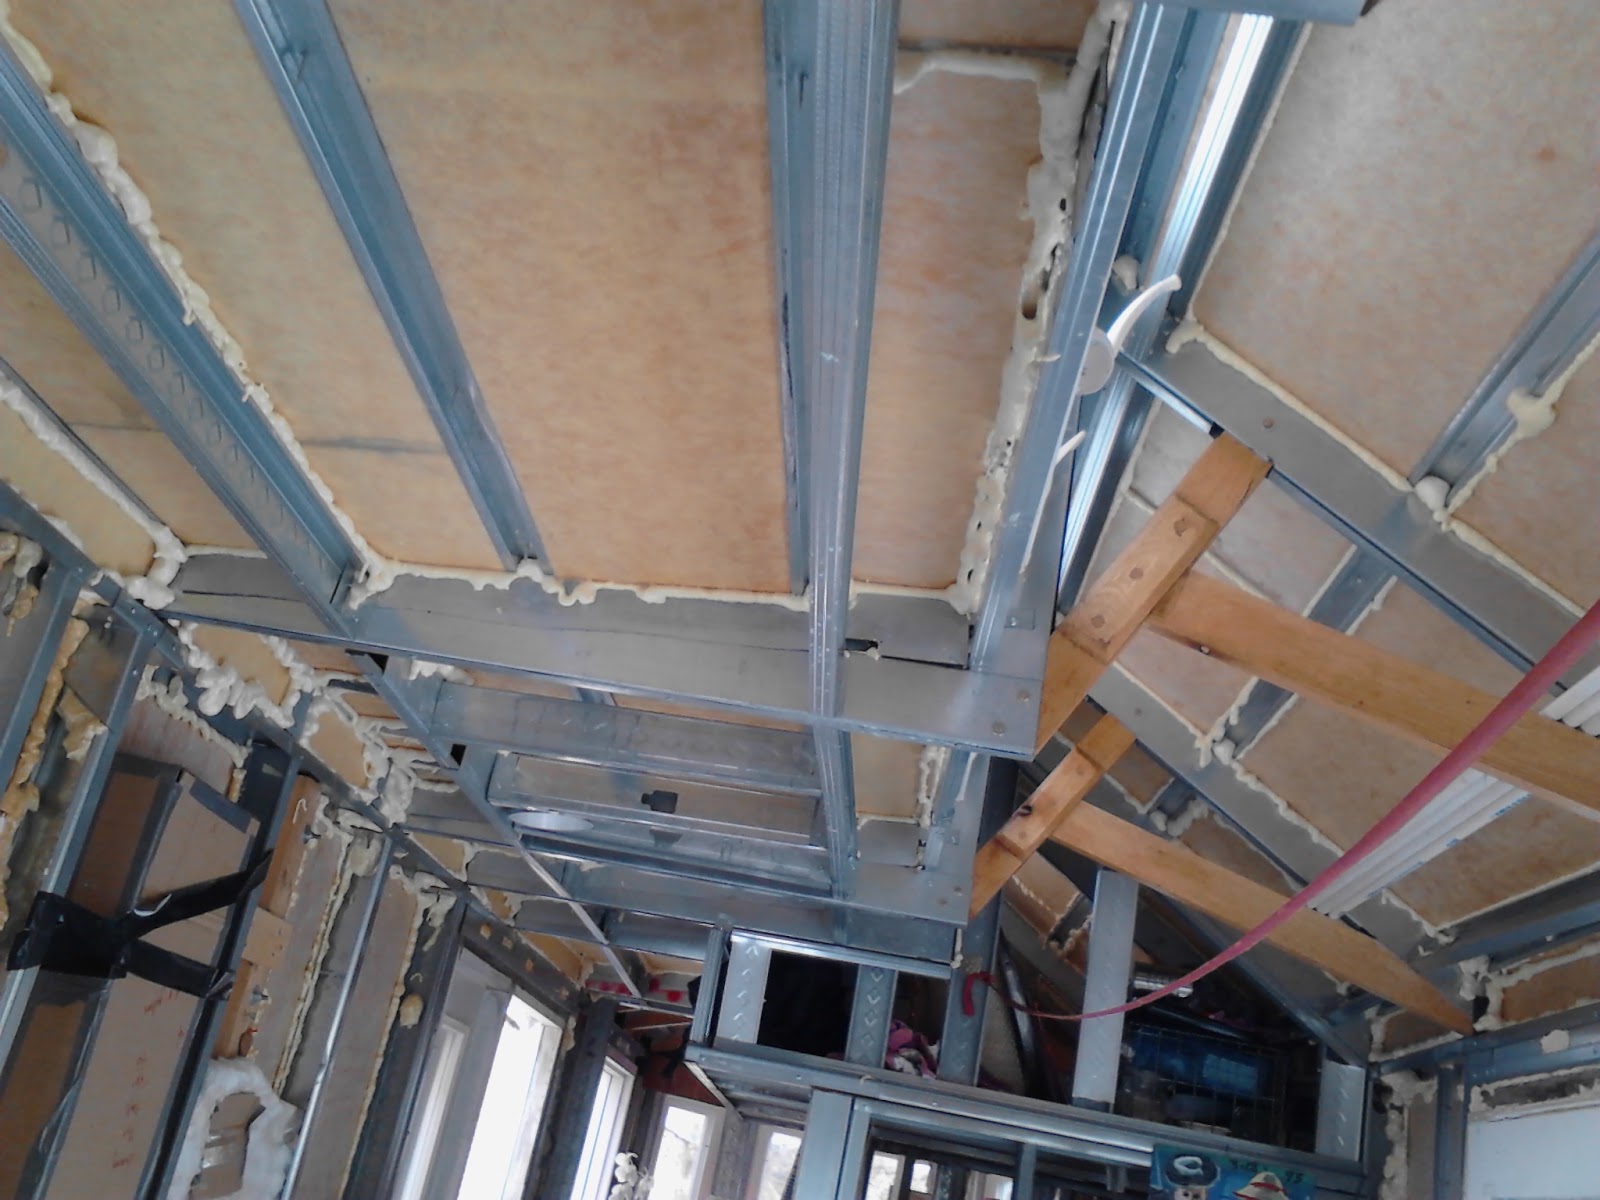
Framing to support sub-floor infastructure, such as storage, battery banks, water tanks, filters and pumps.
Dish washer racks with the tines cut out, and lined with cut up yoga mats.
Here are two racks installed on the framing, held on with zip ties. These two will be for the batteries. I will make cloth bags that will fit into the sides of other racks, and will be accessible storager through the floor.
mock up water tanks made from card-board, to see how things fit, pumps mounted on some particle board, ready to be zip-tied to the frame
tofu buckets that I will be useing to make sand filters.
Cherry counter top in the bathroom
copper sink in counter top
steel framing to hold these old amunition crates, which will sit on each level, and be easily removed to access plumbing stuff, and also serve as stairs to get into the loft when they are in place.
cool iron shears to be used to make sliding door mechanism for the bathroom
the hearth: steel frame, covered in fire proof gypsum board, covered with some aluminum siding, normally used as skirting around trailers.. nice brick pattern
and trim
my friend Ken Ogletree helping me install the tile. We mixed the mortar, and laid the tiles.
I bought these little climbing fig vines at the horticulture plant sale, I hope they will grow up and cling to the panels.
Built and installed these cedar panels with scraps from the Restore, and gutter planters installed in the shelves.. This kind of shows the way the panels are mounted to the steel framing under-neith. I anchored cedar blocks, left over from the tub making. The panels have holes that fit over the blocks and then a dowel is pegged through the block to pin the panel to the frame.
I had to re-build the low side of th e roof. It was leaking just alittle, but since a little roof leak is like being alittle pregnant, I decided to ripe off all the metal and board, and retro-fit the trusses with a bit more steel, to create a steaper angle for water to run off. Then I installed new board and new roof metal and have un-loaded many a tube of caulk.


 tools
tools


 Framing to support sub-floor infastructure, such as storage, battery banks, water tanks, filters and pumps.