This past July and August I decided to externalize the effort I have put into working 6 jobs that have here to fore paid for the construction of my home on wheels
. I am a very hard, thorough and diligent worker, always have been, but I vastly prefer to live a life of more freedom for my time and imagination.. that part of why i am building my home; to free myself somewhat from the struggle to survive and work for money so as to devote more of my life force to expressing this experience of life through the gifts I happen to have been given in this life, rather than trading my life force for money by the hour. I have been afraid that my identity would get attached to this struggle for money to buy supplies to build the house. so I created this book for sale about the whole process. I made 20 of these books, in the 24 hour prayer room, and in my trailer. Since it is a story about the building of my home, it was built in my home and photographed in my home it seemed like I should also post about it on this blog, as well as my creative work blog
www.egretion.blogspot.com. There is another book In have recently competed that is pictured and described there also. ENJOY!!!
They are for sale for #60.00
"
Really
and truly, isn't money the best tool for metaphorical communication?!?!
People all over the world, up/down through time have used it to share
all manner of understanding and lend form to the power of ideas. More
than anything it is useful for expressing our deep desire to
co-operate. Aside from being extremely versatile and useful tool for
conducting affairs with the visible world, the influence of money
extends into the invisible world; there fore it also has the potential
to be a spiritual, or magical thing, in and of itself."
Give my A$$ a smooch! please xoxox!
The
basic gist of the book is about how I am building this contraption from
scratch, don't want to go into debt, so I got a bunch f side jobs to pay
for it as I go.. hence $IDE MONEY!
The first spread all about the pop up trailer. recycling, environment, criminal banks + view of the trailer from space.
The second spread is about my work as a "red-neck construction general service handy woman." I was working one renovation job in particular way out in the middle of no-where. The house has been trashed by the last tenants, beyond the point where the house could continue to be rented, We found a 3 ring binder in one of the top floor bedroom closets, titled The Legendary Side Money... with a list of all the things to be done to earn $side Money. The last thing on the list was making trailers!!! BAHAHA!!! This is how I earned my nick-name "$IDE MONEY!!"
This is a self portrait of the original $ide Money expert, sweaty, shifted eyed-so-and-so!
I also work as a waitress at an all-night, all American diner!
Restaurant views as seen moving out from inside and outside.
Moving out.. moving in, with stories about relationships built there and events that have happened on my shifts.
The view of the neighborhood where the restaurant I have worked at the longest is located, and the mega mess o dishes we waitress clean up!
This
spread about BIKE POWER and GIRL POWER! I find change on the side of the road constantly, and an average of 5 times a year huge wads of cash! Plus, I save a great deal of money riding my bike everywhere.
This spread also talks about all the extra little side jobs I have, from making puppets, delivering singing telegrams, baby-sitting, dog walking, cream pie fight catering, etc....
This spread is about my work with the local stage hands union. We stage hands were originally pirates who were on sabbatical from sea-faring, a motley bunch who made the show go on!!!
One of the most memorable shows I ever worked was the touring Broadway production of The Fiddler on the Roof! I ran off with the Fiddler himself after the show, toke him on a brief tour of the town, in particular to a rope swing that carries it's rider out over a cliff, hanging from a tree along side the train tracks. When you lift up the accordion Victorian peep show you see a layer image of the rope swing.
This is the graphic logo for the Athens Local 824, who I have worked with for the past 3 years.
UNFORTUNANTLY WE FORGOT TO TAKE PICTURES OF THE SPREAD ABOUT MAKING CLOTHES AND POP-UP BOOKS! sO THOSE IMAGES WILL COME ALONG LATER! SORRY!
The final spread is about the modeling work I do, for painters, and sculptors. Pictured also is the work of a few local artists I have worked with over the years, Leah Mantini, Rich Panico, and Alejandro Lopez-Tasso.
There are the artists on the left, and Money and me on the right
There he is! Monkey, my dog.


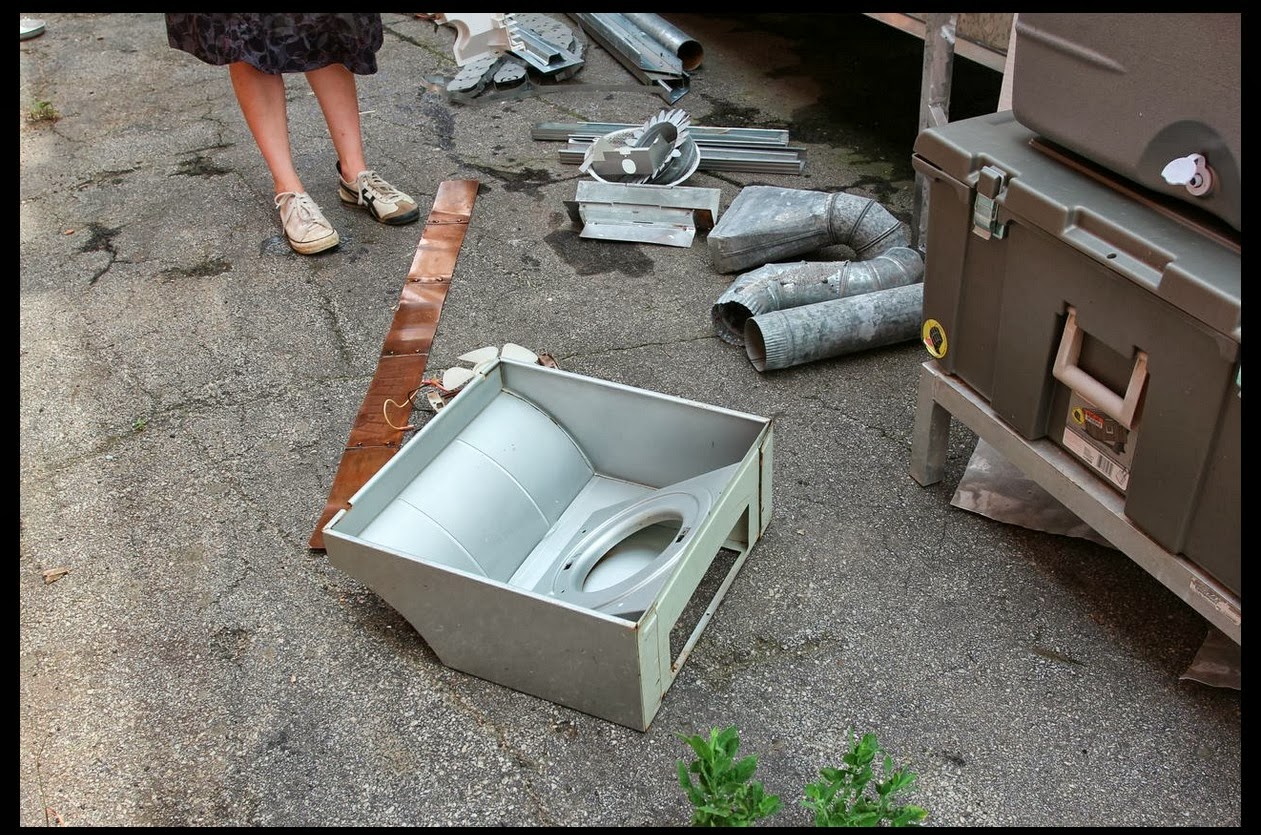
 the
bathroom floor, finished and installed. those two holes are for the
cold water feed that will flow through the copper manifold pictured
the
bathroom floor, finished and installed. those two holes are for the
cold water feed that will flow through the copper manifold pictured


 here is pictured some of the wiring and junction boxes.


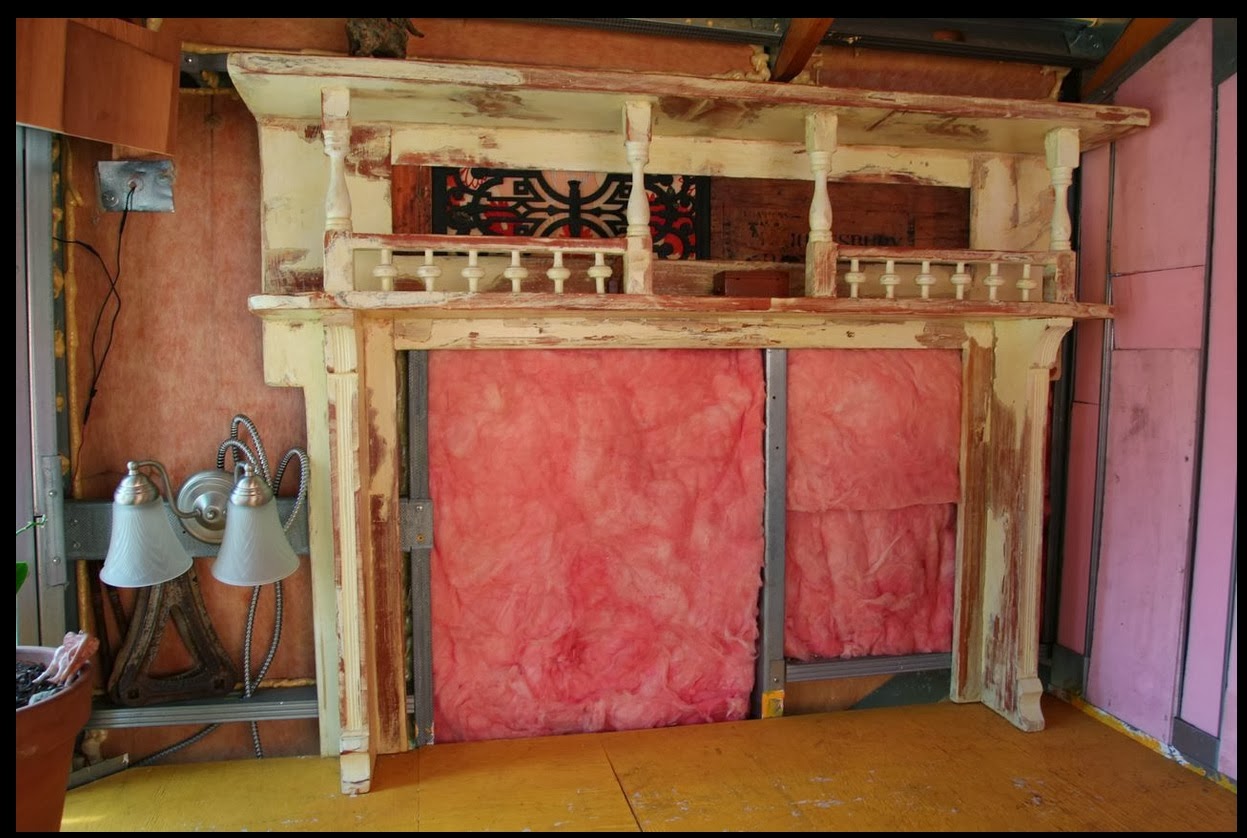
 this is a pile of insulation I dumpster dived from the remodeling of a
bank down town. it ha sbeen inside the suspended ceiling of the bank,
perpetually heated and cooled at a constant temp for 20+ years. seeing
as it had no mold or even any water damage on it I decided that I would
rather use it than buy even newly made product.
this is a pile of insulation I dumpster dived from the remodeling of a
bank down town. it ha sbeen inside the suspended ceiling of the bank,
perpetually heated and cooled at a constant temp for 20+ years. seeing
as it had no mold or even any water damage on it I decided that I would
rather use it than buy even newly made product.


 in
the center of this picture is the steel frame supports that will be the
opening of the floor hatch access to the battery storage compartment.
the largest of the pairs of aluminum frames built by Andrew Flage of Saint Udio will frame this opening. the frame were made from re-cycled plastic vacuum molds given to me by Justin Roberts
in
the center of this picture is the steel frame supports that will be the
opening of the floor hatch access to the battery storage compartment.
the largest of the pairs of aluminum frames built by Andrew Flage of Saint Udio will frame this opening. the frame were made from re-cycled plastic vacuum molds given to me by Justin Roberts


 in
this photo is shown the two ammunition crates in situ as stairs and
storage. underneath the white crate will be an open spaces providing
ventilation for the bathroom fan to be vented out the bottom of the
trailer.
in
this photo is shown the two ammunition crates in situ as stairs and
storage. underneath the white crate will be an open spaces providing
ventilation for the bathroom fan to be vented out the bottom of the
trailer.


 these
are the boards that were once a book case and will be my decking,
presenting employed as flooring planks to give me something to walk on
inside. I am saving for the sub flooring, a recycled plastic honey comb
paneling that weighs 15 lbs a 4'x8' sheet, but costs 180 a sheet. I need
10 sheets and to ship them from Montana, where they are made, to
Georgia, where I am.
these
are the boards that were once a book case and will be my decking,
presenting employed as flooring planks to give me something to walk on
inside. I am saving for the sub flooring, a recycled plastic honey comb
paneling that weighs 15 lbs a 4'x8' sheet, but costs 180 a sheet. I need
10 sheets and to ship them from Montana, where they are made, to
Georgia, where I am.