 I saw this picture on-line, and I thought I would like to try and make it. So I found a bike wheel, a few extra axles, and I was given two pieces of rectangular tubing with flattened ends, pre-drilled bar tabs attached. They were superfluous to one of the traveling Broadway shows I work with, so they left the pieces in the bushes for me.
 So I planned it out, cut it up and welded it at Ben's Bikes, on W. Broad Street, where I rent shop time.


I have left this out in the weather for a while to see if it will stand up to the elements. I don't doubt that the sun will eventually corrode the tubing, but at least I can rest assured there will most likely always be more used bike inner tubes I can use to make any needed repairs.


 This is a picture from The Wood Stove Handbook, which I checked out from the local public library, which I used as a guide for the design and parts requirements for the hearth, stove and chimney system.


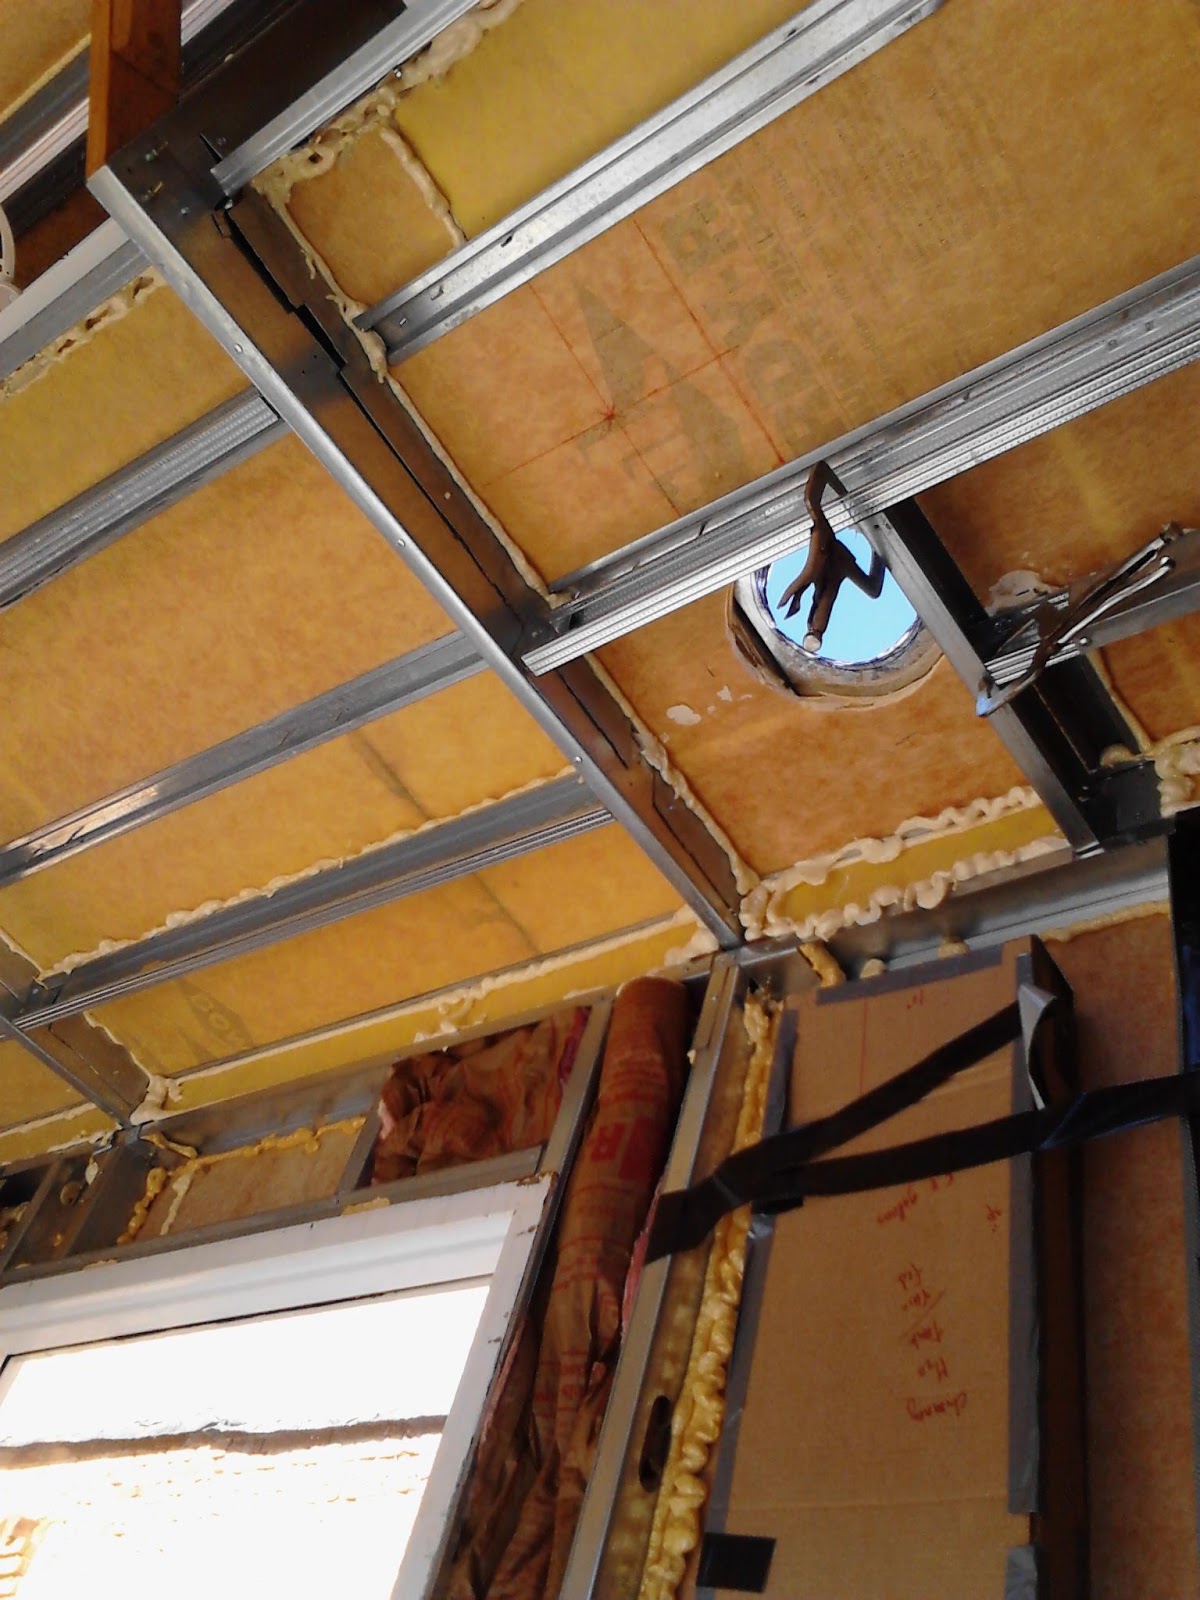

 Then I built the frame and installed the heat shield. I bought all these chimney parts fromwww. northlineexpress.com and the brand is Duravent. To be honest the through the roof snap lock junction box was a lot heavier and more expensive than buying this attic insulation shield, so i bought it instead, and am running the pipe straight up through it and out the roof..
 Okay, so then I had a hole in the roof and framing under it, and flashing to install. I had a piece of plastic and some card board. I cut the card board to the outer shape of the flashing, a hole that followed the shape of the inside of the flashing cone and marked the outline of the roof material around the flashing. I then used the plastic to outline the placement of the hole the pipe needed to match up to and be straight. I tested the fit and used the pattern to mark on the roof the opening in the roofing material I needed to cut.


 Then I cut the roofing and cut away some of the ISO board around the heat shield, since it is flammable.. just to be safe..no pic of that. I deleted it by accident. Anyways, then I installed the flashing.


 Then Monkey and I took a break from work and joined with the Georgia Climate Change Coalition and the Sierra Club Student group on the UGA Campus. There is a coal fired power plant right in the middle of the campus that chugs out hundreds of thousands of tons of pollution into the skies around the city every year. The BEYOND COAL campaign is trying to get the plant shut down, and seeing as it's permit is up for re-newal this year this is the perfect time to push the effort. Please, call the school administration and tel them that a safer world is out right and the dirty energy of coal and fossil fuel burning needs to be a thing of the past. The President's Office | The Administration Building | University of
Georgia | Athens, GA 30602 | Phone: (706) 542-1214 | Fax: (706) 542-0995
Then Monkey and I took a break from work and joined with the Georgia Climate Change Coalition and the Sierra Club Student group on the UGA Campus. There is a coal fired power plant right in the middle of the campus that chugs out hundreds of thousands of tons of pollution into the skies around the city every year. The BEYOND COAL campaign is trying to get the plant shut down, and seeing as it's permit is up for re-newal this year this is the perfect time to push the effort. Please, call the school administration and tel them that a safer world is out right and the dirty energy of coal and fossil fuel burning needs to be a thing of the past. The President's Office | The Administration Building | University of
Georgia | Athens, GA 30602 | Phone: (706) 542-1214 | Fax: (706) 542-0995


 Tracy came to help me twist that pipe into place.


 I unloaded some caulk on the ends of the bolts, just in case.
