
I got the same feed-back from both: the advice being that I could buy stock 6" hanger and 2" blocks and weld it all together, but that all that welding could weaken the metal of the chassis and the hangers. Also that it would be cheaper to just have 8" hangers made by a metal shop here in town. I should bolt the new hangers in place and then stick weld them to the chassis on the 3 sides I can reach easily and tack them in place in the back where it is harder to reach.
So I went to the guys at St. Udio on Oneta Street, who I have hired to do some TIG welding in the past, to make the new hangers for me... and....
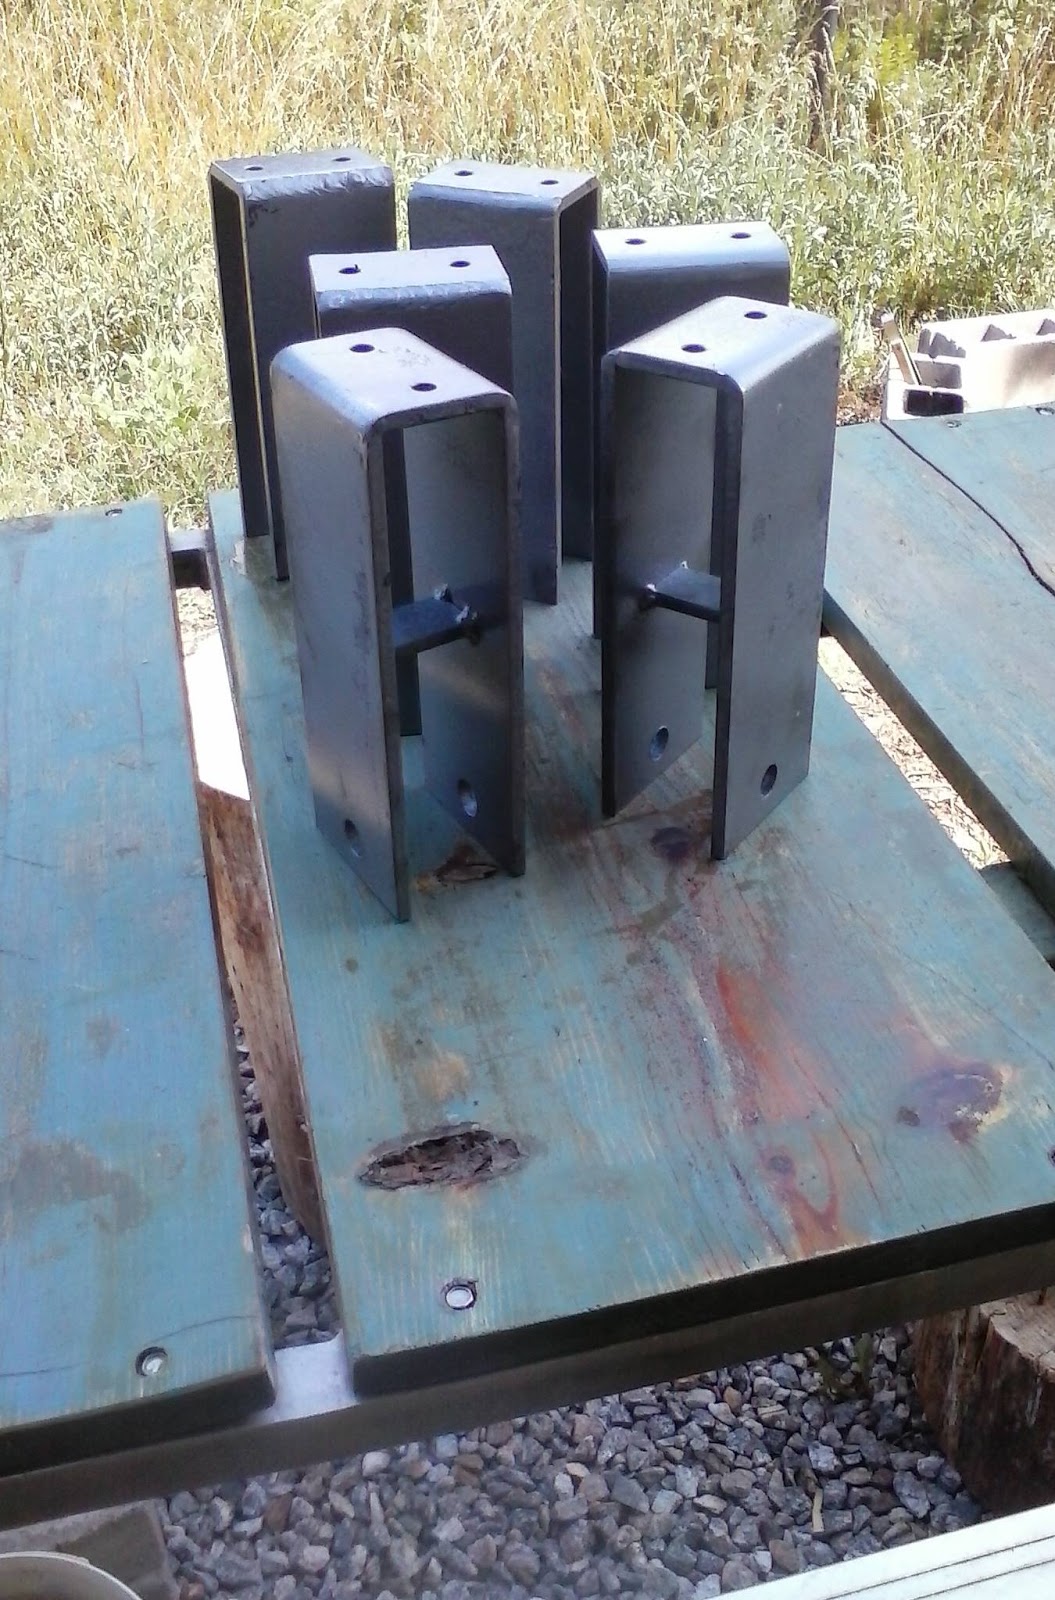
Here they are !!!


 Still life with welding equipment. The couple who owned the one and only store on the tiny island I lived on with 120 other souls, Gambier Island in British Columbia, gave me this full length leather coat. At some point, for some reason I donated it to the thrift store, and then months later I regretted it!! I was wandering around in the Habitat with my girl friend, and she saw this and though, "Hum, perfect for Gretchen", and ShAbAnG! I was reunited with my coat, which turns out to the perfect for this welding job, sitting on the ground with lots of leather to cover my legs.


I borrowed a Miller stick welder/generator from my friend, the immortal Beverley Babb, and borrowed some of her mojo too. To paraphrase her words: I have been flapping my tongue bitching so much about this problem it has taken me days to re-hydrate it!


 Thank you so much to my friend Randy for coming out to help me 3 TIMES!!!! Jacking, blocking, test fitting, teaching and calming my nerves! Thank you Thank you!!